Install Guide
How to install Prism Launcher, sign in, and make an instance for the server. The server is on b1.7.3 right now.
Step 1: Download Prism Launcher
Download prism launcher with the big yellow get prism button, this shouldn’t be hard to miss.
Step 2: Run the installer
Open the installer.
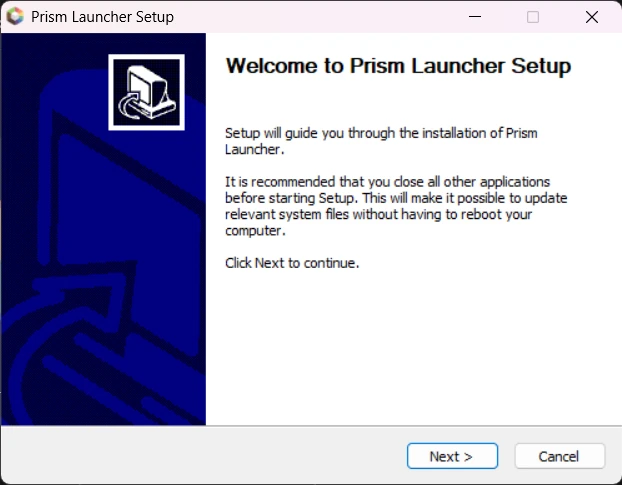
Click next until it’s installed.
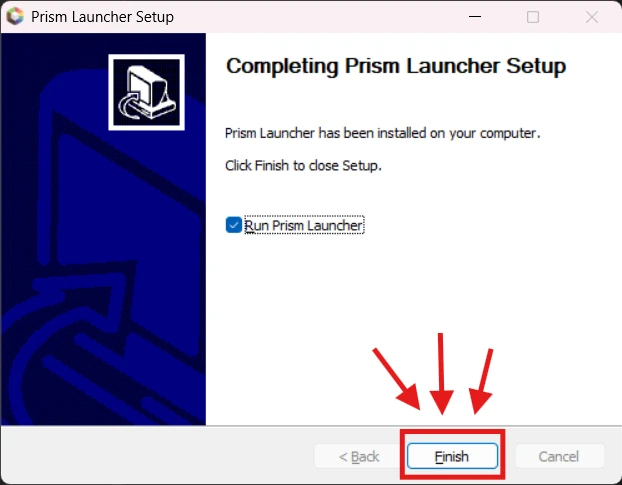
Step 3: Finish the install
Once installed click finish.
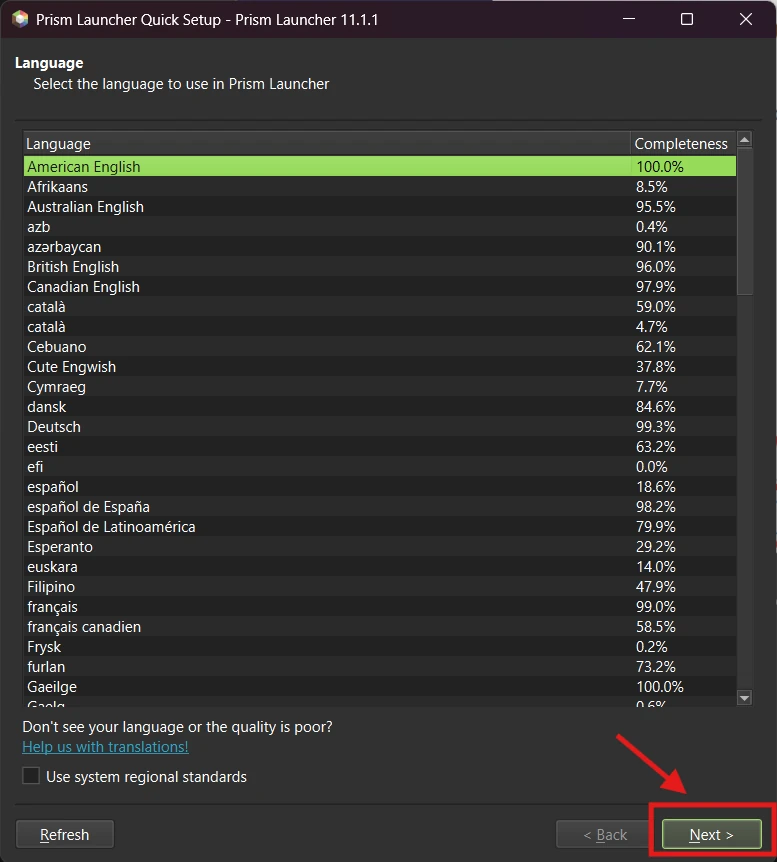
Step 4: Pick your language
Prism launcher will now open, select your language and then click next.
Step 5: Pick a theme
Choose the theme you want then click next.
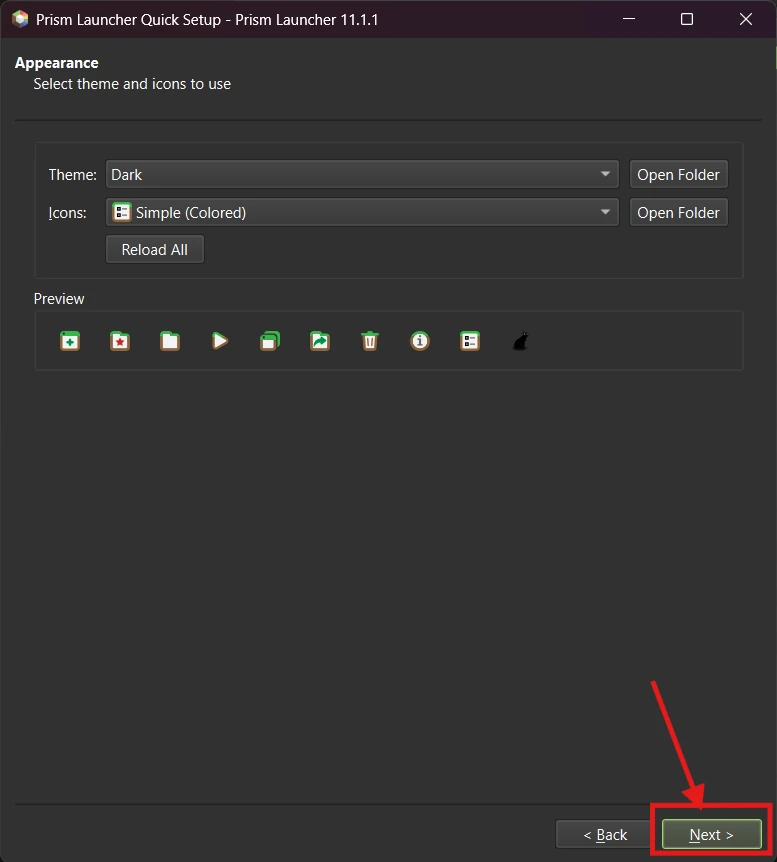
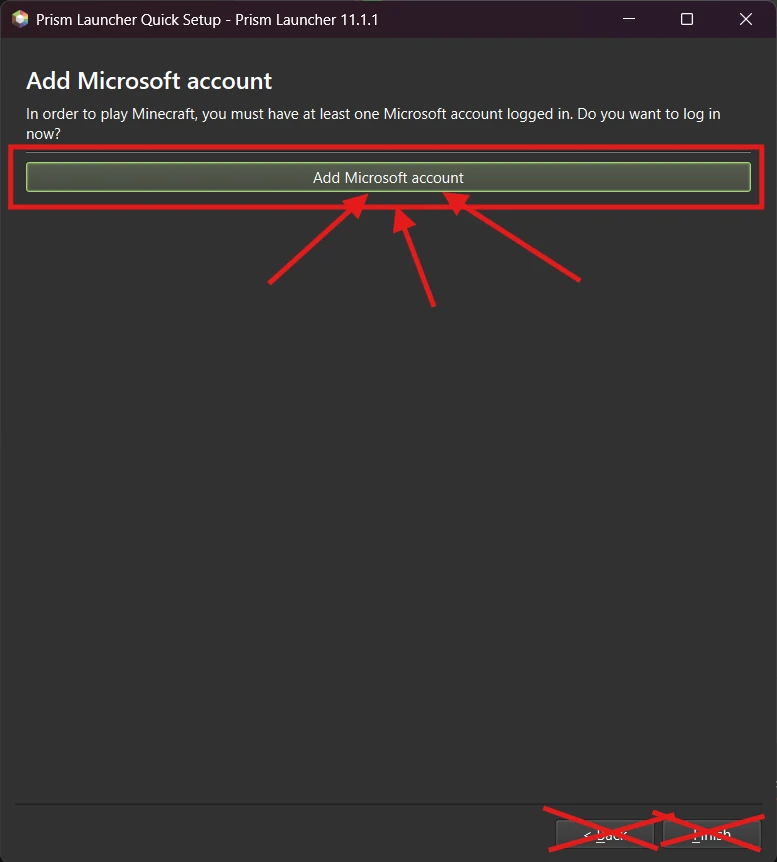
Step 6: Add a Microsoft account
Now you need to add a Microsoft account, click add Microsoft account.
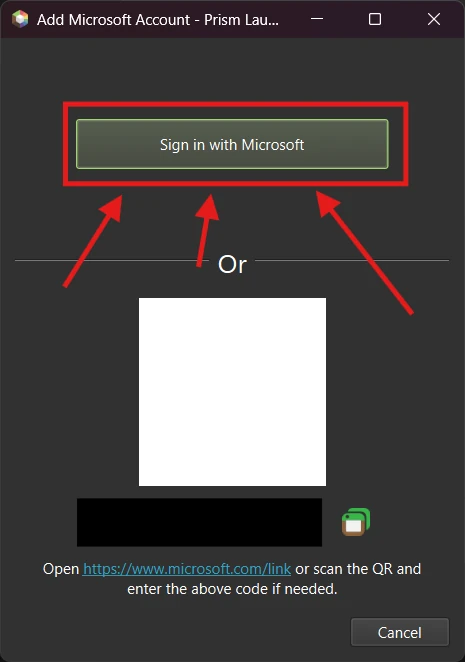
Step 7: Sign in with Microsoft
This window will popup, click sign in with Microsoft.
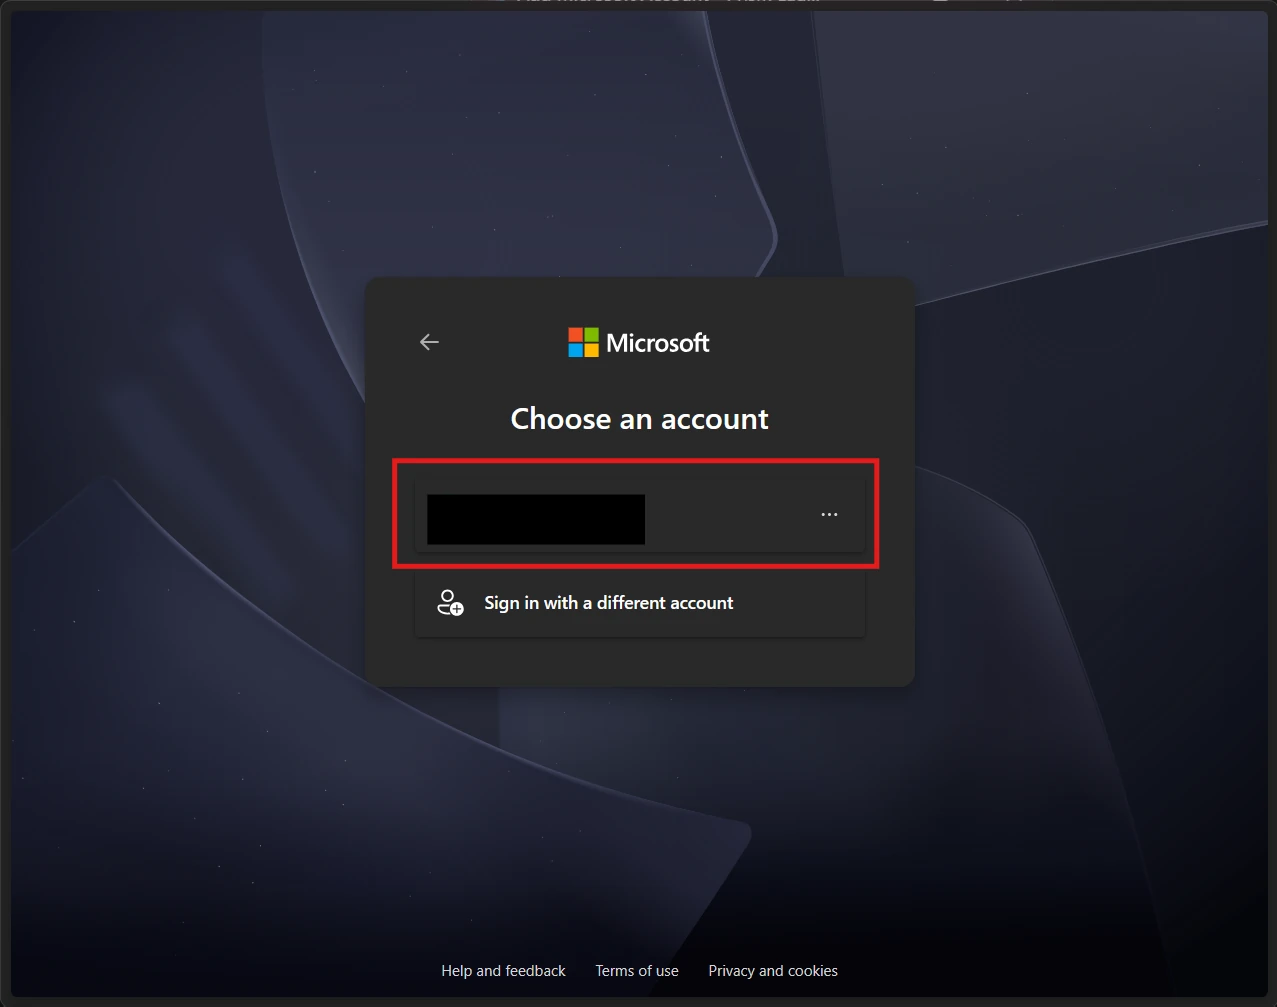
Step 8: Sign in in your browser
This will open your browser, sign into your Microsoft here.
Step 9: Let Prism sign in
It will then ask if you want to sign into prism with your Microsoft account, you need to do this so click Continue.
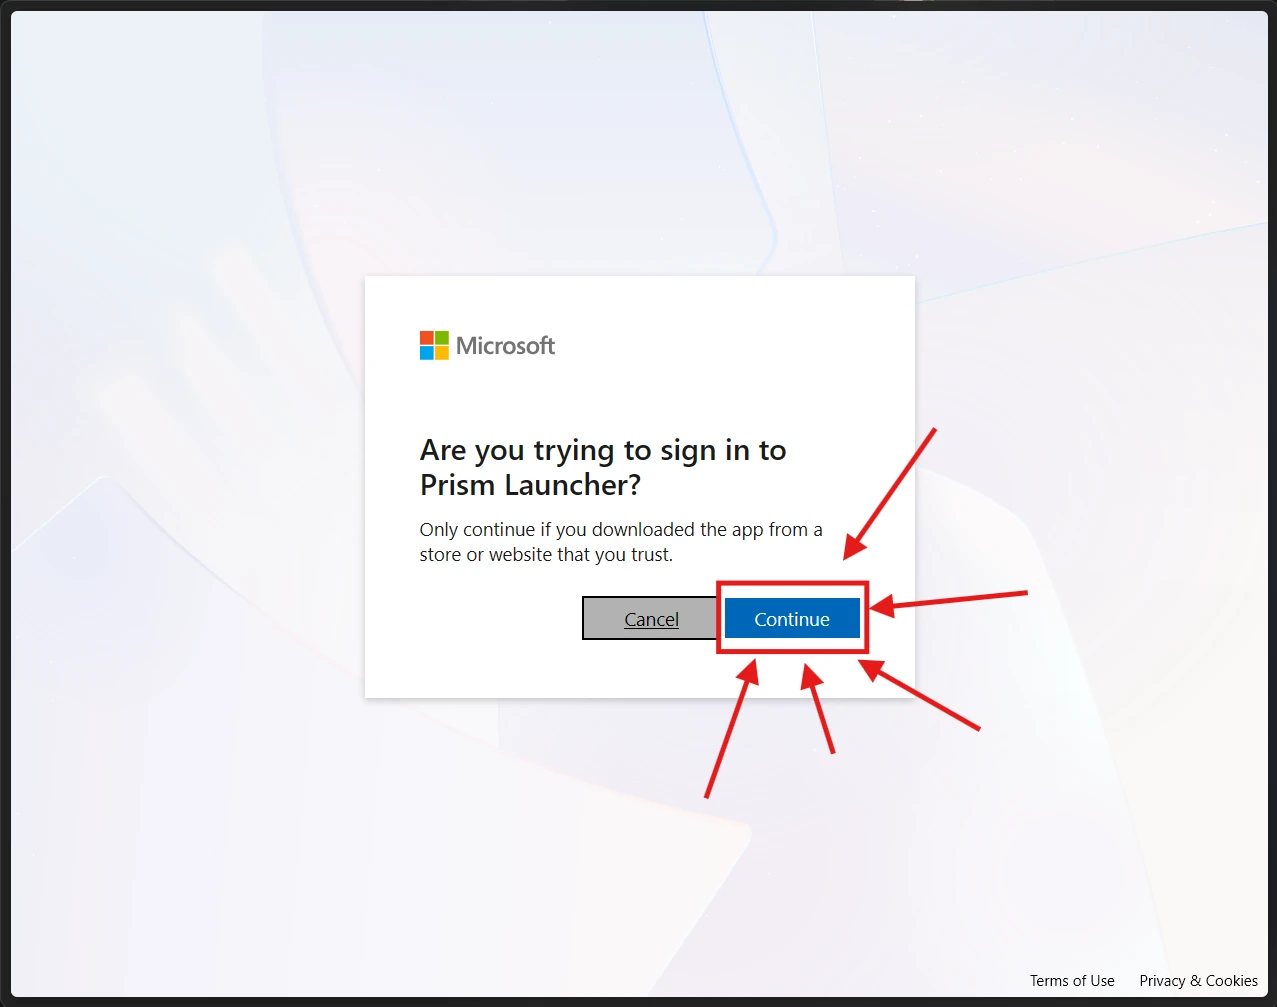
It should ask you if you want to allow Prism to read your username and stuff, click Allow and then prism should now be signed in.
Step 10: Check you are signed in
Prism should now look like this with your account in the top corner.
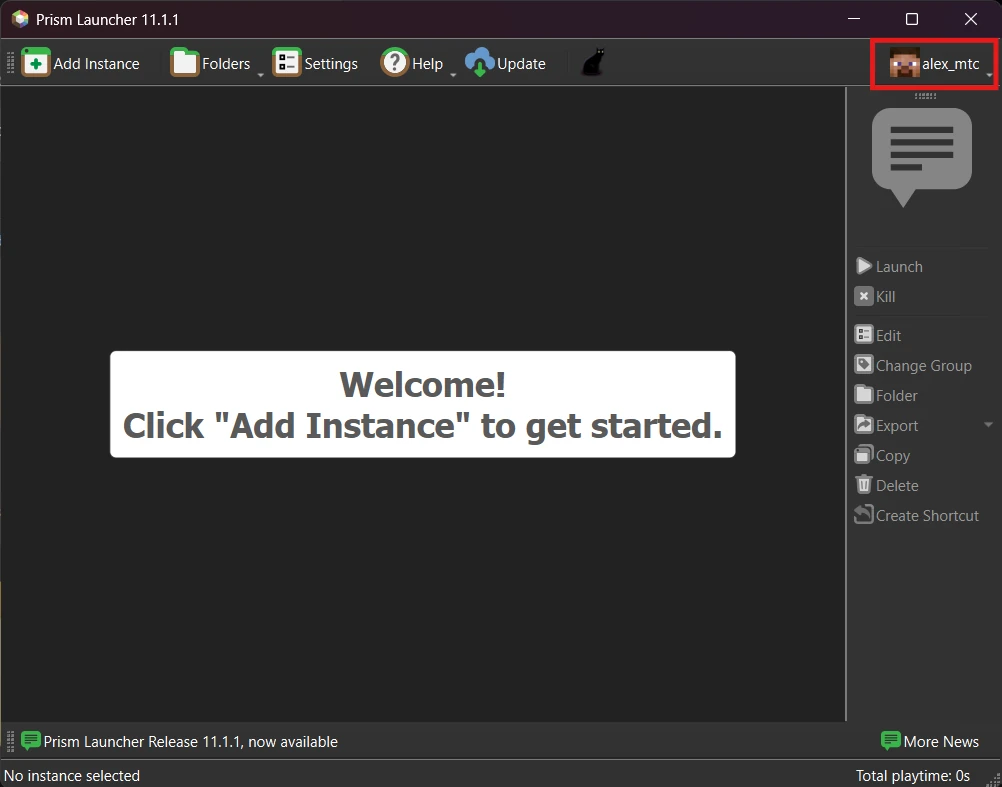
If the sign in did not work you will have to click where the profile would be, click Manage accounts and then click add Microsoft.
Step 11: Add an instance
Click add instance.
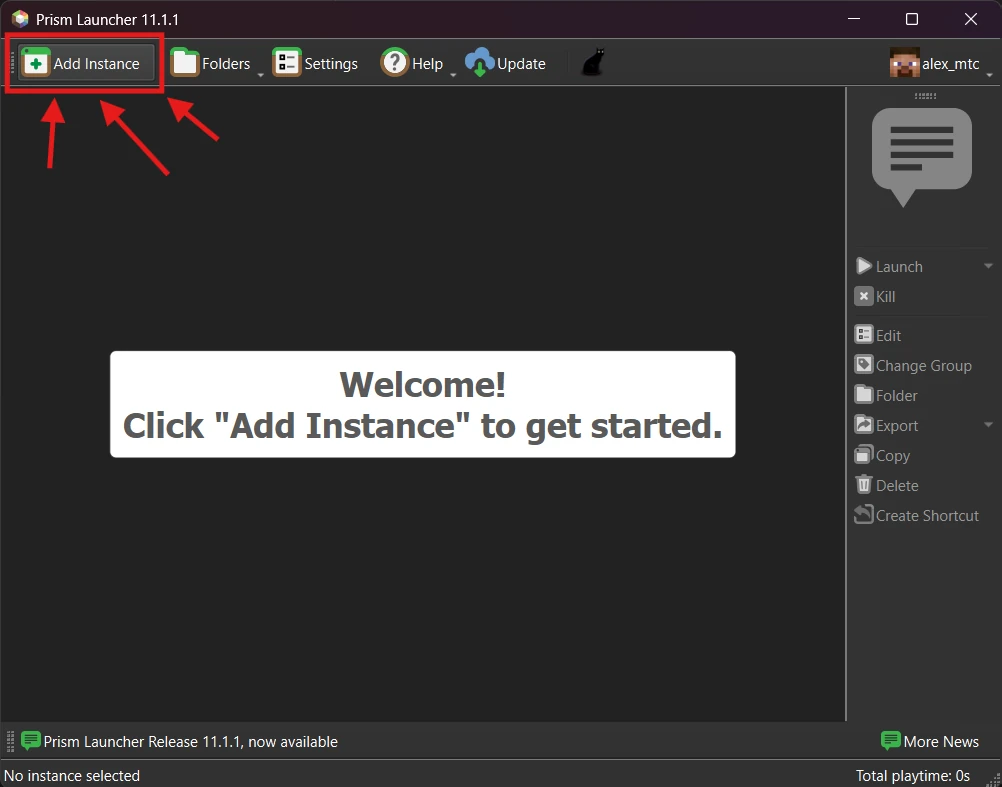
Step 12: The new instance window
This window will pop up.
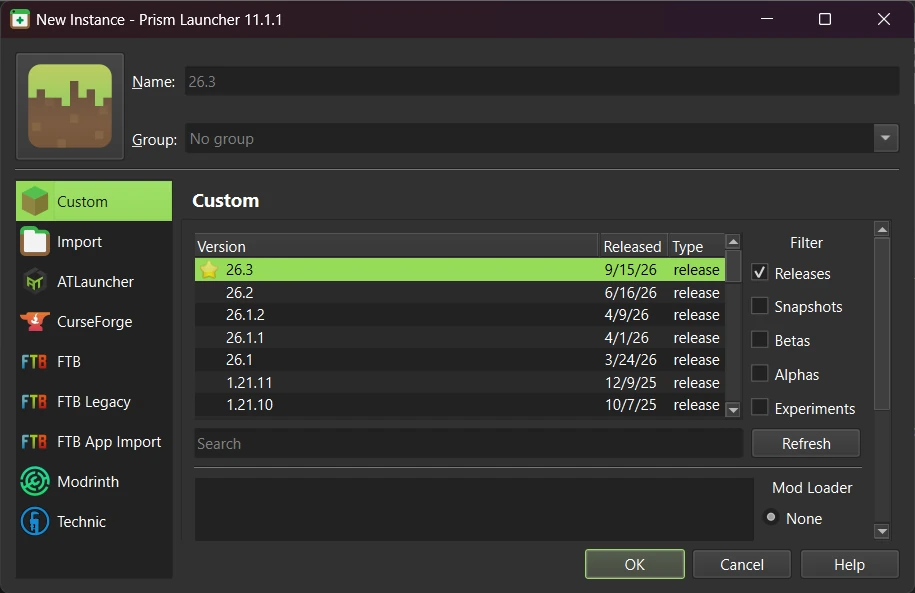
Step 13: Choose the version
Name it 1.0.0, then look for version 1.0.0 in the list. Click it, then click OK to download it.
Step 14: Wait for the download
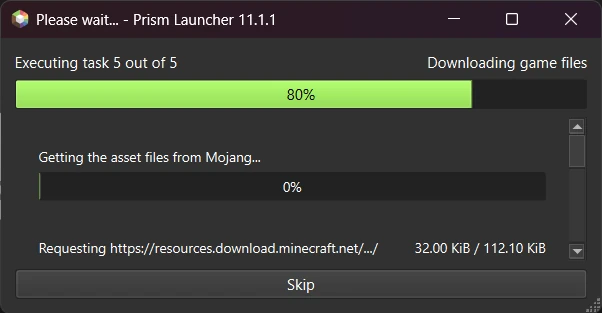
It will now download the game files, wait for this to complete (don’t open insta pls).
Step 15: All installed
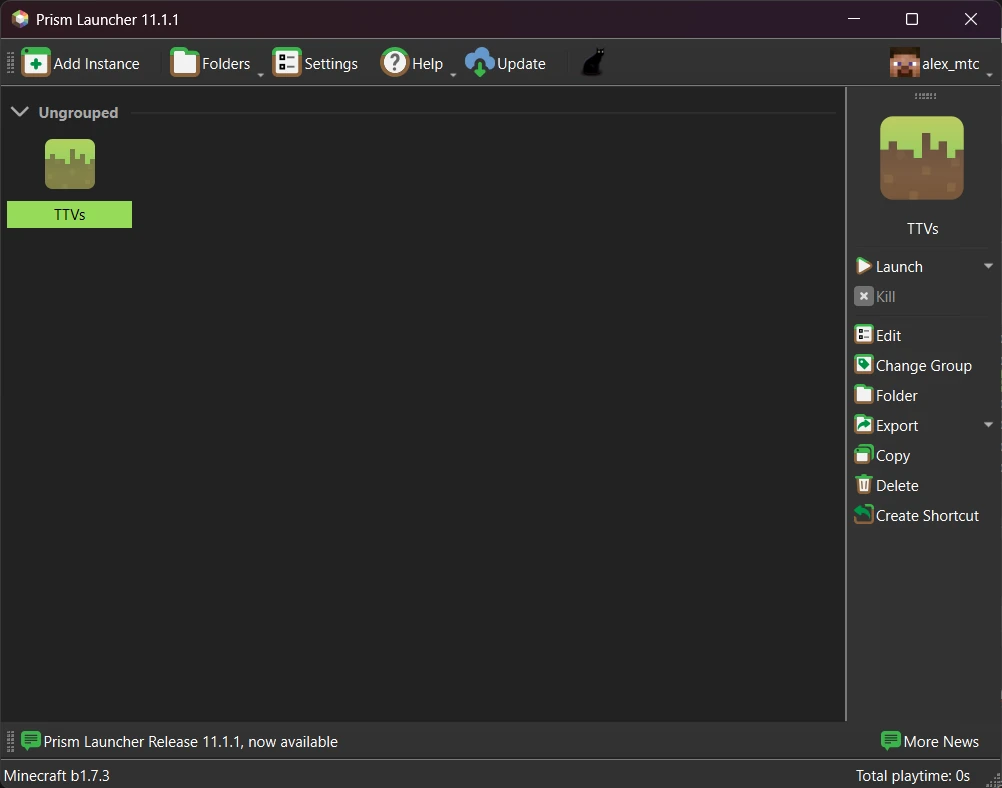
When finished prism should now look like this.
Step 16: Enable online fixes
Now you need to enable online fixes, which can be done with the guide here.